English Ivy Care Guide
Hedera helix
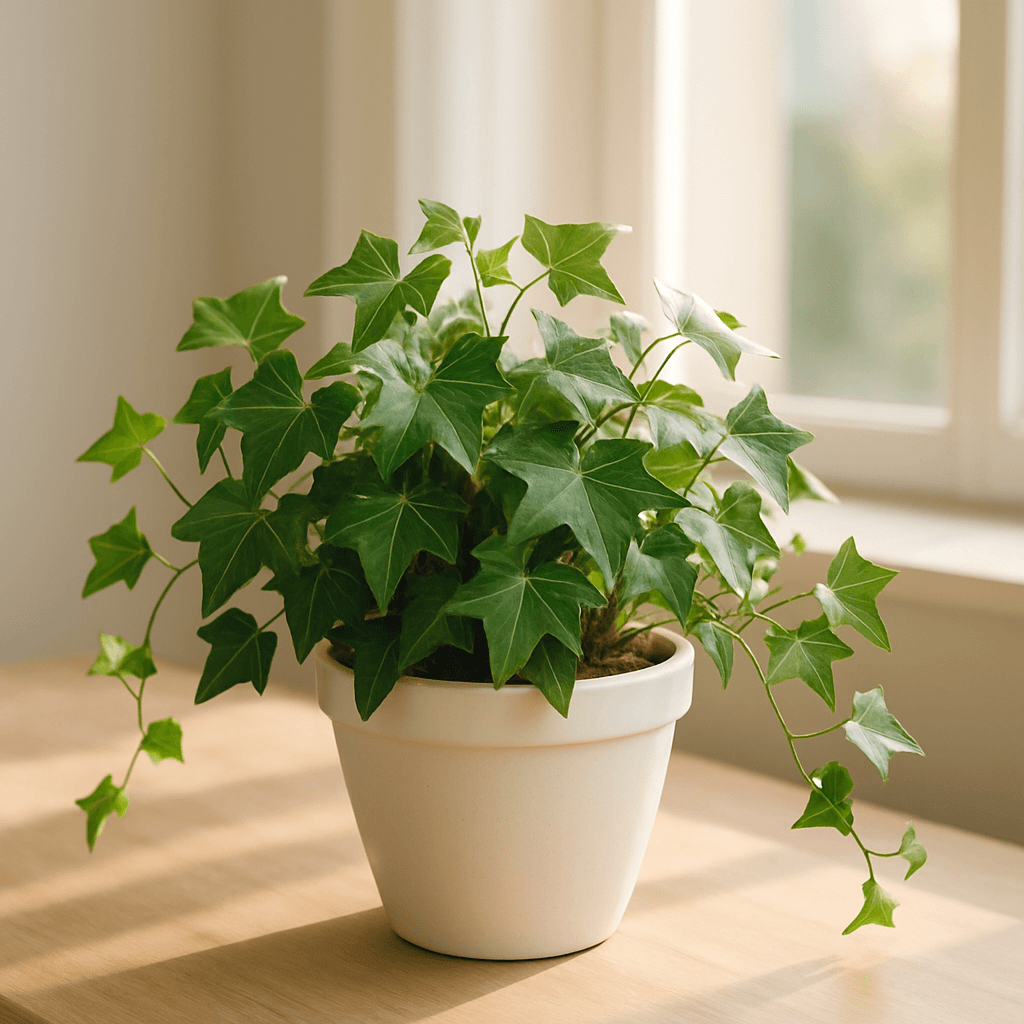
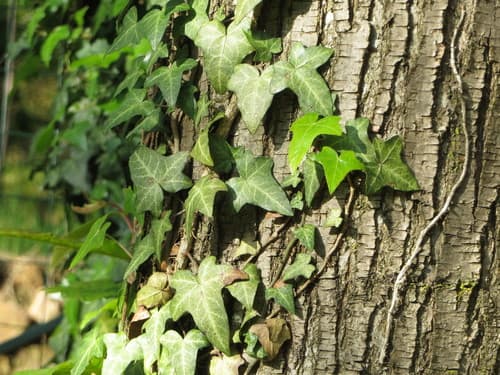
Quick Answer
The biggest mistake people make with English ivy is overwatering it — those early yellow leaves are a warning, not a mystery. Let the top inch of soil dry out before you water again, and you'll sidestep the most common way this plant dies indoors. Get the watering right, give it decent light, and ivy is genuinely one of the easier plants to keep happy.
⭐Difficulty
Easy
☀️Light
Low to bright indirect
💧Watering
Every 1–2 weeks
🌫️Humidity
Medium (40–60%)
🌡️Temperature
45–80°F
📈Growth Rate
Moderate–Fast
Toxicity
Source: ASPCA Animal Poison Control
Watering
Summer
Every 1–2 weeks
Winter
Every 2–3 weeks
Method: Allow top inch to dry slightly between waterings
Let the top inch of soil dry out slightly before watering — stick your finger in and if it still feels damp, wait another day or two. In spring and summer, that usually works out to every 1–2 weeks depending on your pot size, light levels, and how warm your home runs. Come fall and winter, back off significantly; every 2–3 weeks is more realistic, and erring on the dry side is safer than erring wet. When you do water, water thoroughly until it drains from the bottom, then empty the saucer — ivy sitting in standing water is a fast track to root rot. Don't mist the leaves to compensate for dry air; that invites fungal problems. If you want to boost humidity, set the pot on a pebble tray with water underneath instead. Signs of overwatering: yellowing leaves, soft stems near the soil, a sour smell from the pot. Signs of underwatering: leaves going limp or slightly papery, dry soil pulling away from the pot edges.
Light Requirements
Low to bright indirect
English ivy adapts to a surprisingly wide range of light, but it does best in bright indirect light — an east-facing windowsill or 2–3 feet back from a south or west window is the sweet spot. It'll tolerate low light, but growth slows noticeably and vines get sparse, so if your space is dim, a basic grow light on a 12-hour timer will keep it looking full without much fuss.
Soil & Potting
Soil: Well-draining potting mix
Pot: Hanging basket or trailing pot with drainage
Temperature & Humidity
Temperature: 45–80°F (7–27°C)
Humidity: Medium (40–60%)
Fertilizing
Frequency: Monthly spring/summer
Type: Balanced fertilizer, half strength
Common Problems
Yellow leaves → Overwatering. Reduce watering frequency.
Brown crispy leaves → Too dry or spider mites. Increase humidity and check.
Leggy with few leaves → Insufficient light. Move to brighter spot.
Leaf drop → Temperature stress or drafts.
Propagation
Cut a healthy stem 4–6 inches long, snipping just below a leaf node, and remove the leaves from the bottom half of the cutting. You can root it in a glass of water — just keep the nodes submerged and the leaves above the waterline — or stick it directly into moist potting mix and cover it loosely with a clear bag to hold humidity. Water-rooting usually takes 2–4 weeks; you're looking for roots at least an inch long before you pot it up. The thing that trips most people up: they move the cutting into soil while the roots are still tiny nubs, and the plant stalls or collapses. Wait until the roots are genuinely established — at least an inch, preferably two — before making the move to soil.
Seasonal Care Calendar
🌸 Spring
Resume fertilizing. Good time to cut back overgrown vines and propagate cuttings.
☀️ Summer
Vigorous growth. Water and feed consistently. Watch closely for spider mites in hot weather.
🍂 Fall
Trim back aggressively if needed. Reduce fertilizing.
❄️ Winter
Minimal water and no fertilizer. Prefers cooler temperatures — avoid hot sunny windows in winter.